
Set up a production in an afternoon
Eight steps from a new account to a shared contact sheet. You can stop after any of them and pick up later.
Step 1: Create an account and workspace
Sign up and name your workspace after your department or company. It’s the home for every production you work on.
Step 2: Create a production project
Add a project for the show, series or commercial. Its props, tasks, contacts and bookings stay separate from your other jobs.
Step 3: Link Lens and capture on location
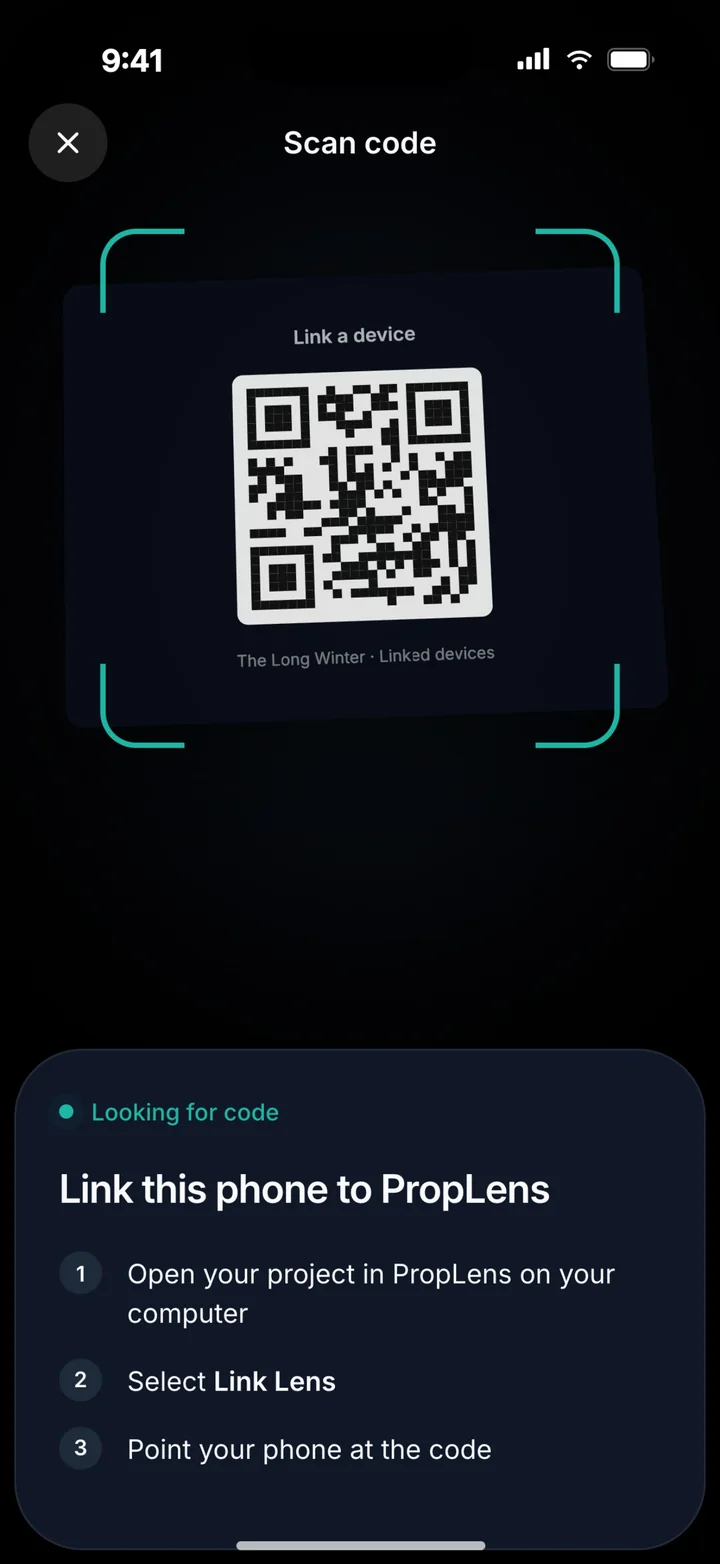
Get Lens free from the App Store, open Account settings → Lens on your computer, show the link code and scan it with the phone, then pick where you’re sourcing, and photograph props from every angle. Lens works offline and syncs when you’re back in range.
Step 4: Upload prop photos and review AI suggestions
Upload photos one by one or as a folder. PropLens suggests groups and categories, and you accept or edit each suggestion before it’s added.
Step 5: Organise assets and supplier information
Add the supplier, location and category for each prop, then use search and filters to find the right lamp in seconds.
Step 6: Assign sourcing tasks
Turn the shopping list into tasks, assign them to buyers and dressers, and follow progress through to confirmed.
Step 7: Plan crew, supplier and vehicle bookings
Put pickups, returns, crew calls and vans on the production calendar, add day notes, and watch for supported conflict warnings.
Step 8: Invite collaborators and share
Invite the rest of the team with the right role, send prop contact sheets as PDFs, and export schedules as CSV or to a calendar.